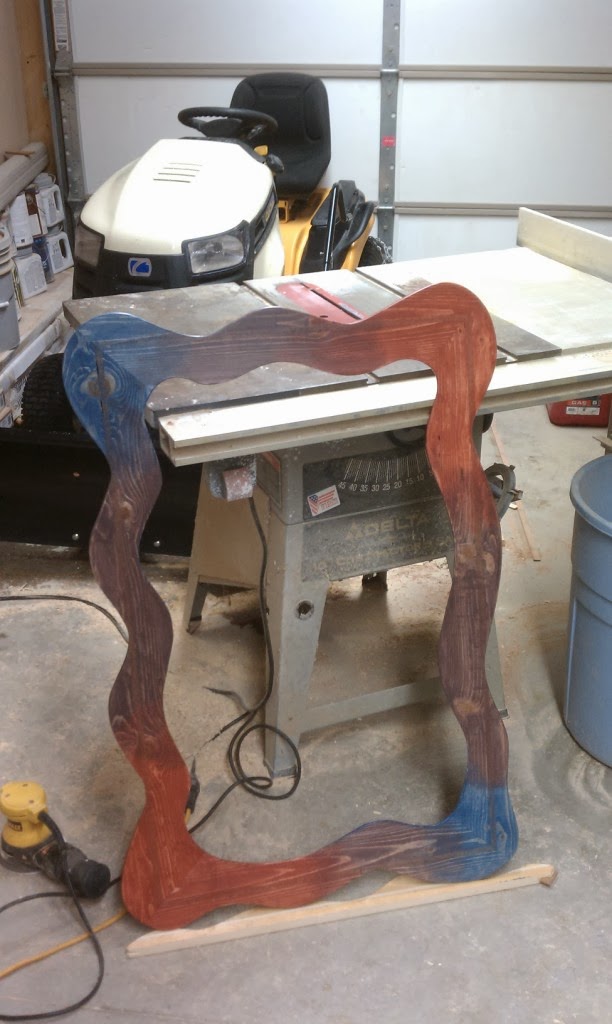
So this project actually started about 3 years ago. For my wife's birthday or Christmas present several year ago, I purchased a print of a Micheal Birawer painting. Not wanting to spend the additional dollars on a frame, I gave her the print and said I would make a frame. So finally in January of this year, I decided it was time to actually start and complete the frame. My timeline was to give it to her on her birthday in February.
I looked around at various frames and pictures of frames and quickly realized that this painting couldn't just have any ol' straight frame. If you think for a second about the purpose of a frame it 1) provides a means to mount the picture to the wall, 2) provide protection and 3) Enhances or shows off the painting.
Sure I could simply tape the print to the wall and cover it with a piece of plastic, but that wouldn't enhance or show it off...in fact, that would look terrible! So I had an idea. After my kayak project http://marcsprojectpage.blogspot.com/ I learned that I could in fact take a bunch of really nice straight cut and planed boards and turn them into something not straight. I decided that this painting needed a not-straight-frame. I needed it to provide a means to hang the print, protect it, and enhance it.
So it all began. In January I sketched a chalk outline of what I had in my head. I took a few measurements of the print so I knew what general size I would be dealing with. I then just drew some things up.
 |
| Chalk drawing on the wall of garage. |
 |
| Scrap boards available in my shop. Pine, African Mahogany and maple. |
 |
| I then laid the print in to get a feel for how it would look. |
 |
| I then mitered the corners and glued it up. Yes, I did have enough clamps! |
 |
| To give the corners strength, I added a spline to each of the corners. |
 |
| Curvy outline drawn on the assembly. |
 |
| I used my jig saw to cut away the excess wood. |
 |
| Ta-da!! My shop helper. |
Next came the staining. Since the print is a blend of colors I thought it would be good to use multiple colors of stains. I purchased a blue and red wiping stain. For the purple, I mixed them together. This kind of work and the result was sort of purple.
Prior to staining I dado-ed the back to accept the mat and glass. I used my router for this.
I then purchased the glass from my local hardware store.
The other feature I did was to literally rip the print. As you may have noticed in the above picture of the print, there was a white boarder around it. I didn't really like this and it would have made the frame much bigger so I decided to remove it. I think it turned out well and the remaining white ripped boarder kind of sets the picture off of the red mat.
 |
| The finished product in my shop. I coated the outside of the wood with varnish to protect it. |
And Voila! The frame is complete and on the wall. And, it was complete a day prior to her birthday. I hung it in her office to add some color on the walls in there. Best of all, it had been so long that she had forgotten about the print.
The whole project turned out well. And, to my surprise, when I compared the final frame to my original chalk sketch, the resemblance surprised me! Total 3M product count for this project = 5. I used 3M wood glue, sandpaper, half-face respirator, ear muffs and safety glasses.
Overall it was fun. The staining was a little messy but I liked how the colors blend into each other. For me, this is more proof that making curvy things out of a bunch of straight things isn't as hard as it first appears.
~Marc


No comments:
Post a Comment